
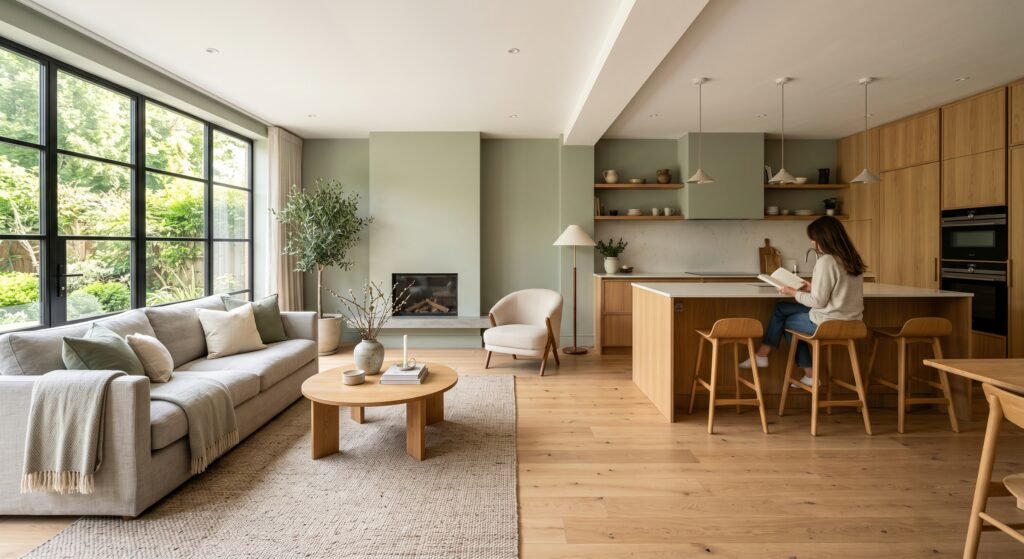
Renovating a home is equal parts art and engineering. As a designer, I’ve walked into countless projects that started with beautiful Pinterest boards and ended in budget overruns, delayed timelines, and finishes that had to be ripped out and redone — all because the work happened in the wrong order. The single most common mistake homeowners make isn’t picking the wrong paint color or the wrong tile. It’s sequencing.
Renovation follows a logical, almost non-negotiable order, dictated by construction physics: you can’t paint a wall before it’s been wired, and you can’t lay flooring before the ceiling has been finished. Skip a step or do it out of order, and you’ll pay for it twice — once in materials, once in labor.
This guide walks you through every phase of a renovation in the exact sequence a general contractor would follow, from the first demo swing to the final light fixture. Whether you’re gutting a kitchen, renovating a single bathroom, or tackling a whole-house remodel, this is the roadmap.
Step 1: Planning, Demolition & Structural Prep
Every successful renovation is won or lost before a single wall comes down. This phase is about defining scope, securing permits, and safely clearing the space for what comes next.
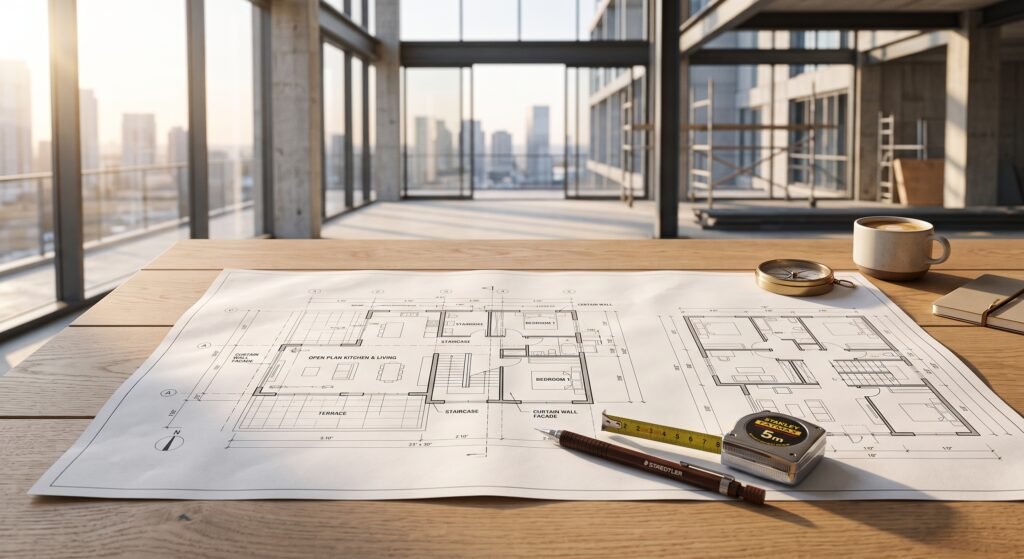
Planning essentials:
- Finalize your design plan and floor layout before demo begins — mid-project layout changes are the #1 cause of budget overruns.
- Pull all necessary permits. Structural, electrical, and plumbing changes almost always require municipal approval.
- Set a contingency budget of 15–20% on top of your renovation budget for unforeseen structural issues (outdated wiring, water damage, mold).
- Hire a structural engineer if you’re removing any wall — you need to know which ones are load-bearing before you touch them.
Demolition and structural work:
- Remove cabinetry, old flooring, fixtures, and non-load-bearing walls per your plan.
- Address structural changes now: header installation for opened walls, sistering joists, or foundation repairs.
- Inspect for hidden issues once walls are open — outdated wiring, rotted framing, or asbestos in older homes.
Do:
- Shut off utilities to the work zone before demo starts.
- Photograph everything before and during demolition for insurance and permit records.
- Set up proper dust containment (plastic sheeting, negative air pressure) to protect the rest of the home.
Don’t:
- Don’t demo further than your permit or plan allows — you may create problems you’re not licensed or prepared to fix.
- Don’t skip the engineer for load-bearing walls, even if a contractor says it “looks fine.”
Step 2: Electrical, Plumbing & HVAC Rough-Ins
With the space stripped to the studs, this is your only real window to relocate outlets, add circuits, reroute pipes, or upgrade ductwork. Once walls close up, moving a single outlet becomes a demolition project all over again.
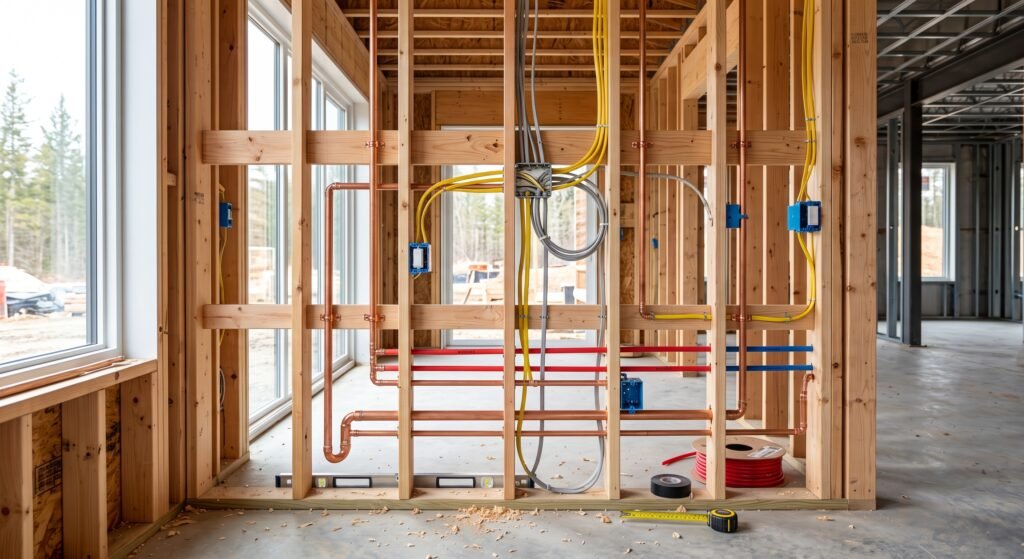
What happens here:
- Electricians run new wiring for outlets, switches, and dedicated circuits (especially important for kitchens and home offices with heavy appliance loads).
- Plumbers rough-in supply and drain lines for sinks, showers, toilets, and appliances.
- HVAC contractors install or reroute ductwork, run refrigerant lines, and place vents according to the new layout.
- All rough-in work is inspected by the municipality before insulation or drywall goes up — this is a mandatory checkpoint, not optional.
Do:
- Overbuild your electrical capacity. Adding recessed lighting, a home office, or EV charging later is far cheaper if the circuits are already there.
- Confirm exact appliance and fixture locations with your designer before rough-in — a sink moved six inches later means cutting into a finished wall.
- Schedule your rough-in inspection immediately; delays here cascade through the entire project.
Don’t:
- Don’t let unlicensed labor touch electrical or gas lines — this is a safety and insurance issue, not just a cost-cutting one.
- Don’t close up walls before your inspector has signed off.
Step 3: Drywall, Insulation & Wall Preparation
Once rough-ins are approved, it’s time to insulate and close the walls. This step transforms a construction site back into recognizable rooms — and sets the foundation (literally) for every finish that follows.
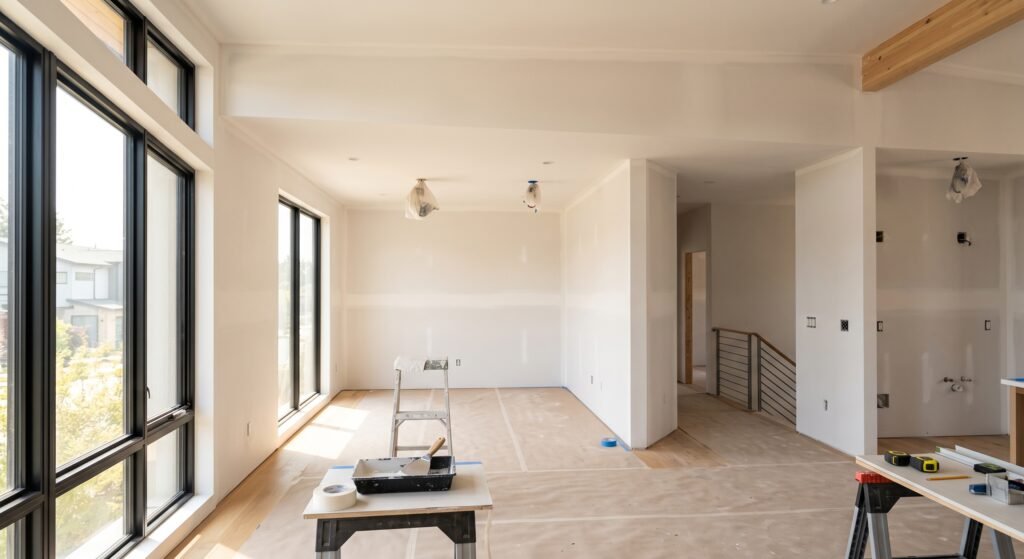
Key tasks:
- Install insulation in exterior walls, ceilings, and around plumbing to meet energy code and reduce noise transfer between rooms.
- Hang drywall, tape the seams, and apply multiple coats of joint compound.
- Sand walls to a smooth, paint-ready finish — this step is tedious but directly determines how flawless your final paint job looks.
- Prime all new drywall before moving forward.
Do:
- Use moisture-resistant drywall (“green board”) in bathrooms, laundry rooms, and other high-humidity areas.
- Invest in proper sanding and a quality primer coat — imperfections here show up dramatically under certain lighting later.
- Consider soundproofing insulation between shared walls if you’re in a multi-family home.
Don’t:
- Don’t rush the drying time between drywall mud coats; premature sanding leads to visible seams later.
- Don’t skip priming to “save a step” — unprimed drywall absorbs paint unevenly.
Step 4: Flooring & Tile Installation
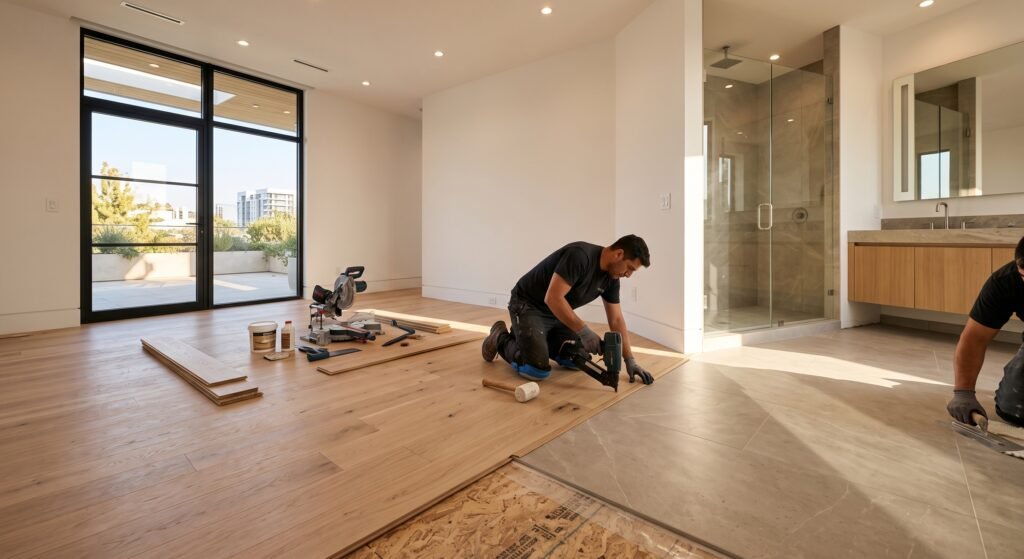
With walls finished, it’s time to install permanent flooring. Flooring goes in before final paint because installation is messy — sanding, adhesives, grout, and tile cutting all risk damaging freshly painted walls and baseboards.
What to install now:
- Hardwood, engineered wood, laminate, or luxury vinyl plank flooring throughout main living areas.
- Tile in bathrooms, kitchens, and mudrooms, including waterproofing membranes in wet areas.
- Subfloor leveling and repair, done before any finish flooring goes down.
Do:
- Acclimate hardwood flooring in the home for several days before installation to prevent warping.
- Use a licensed tile setter for large-format tile or intricate patterns — poor installation shows immediately and is costly to fix.
- Protect finished flooring with rosin paper or breathable covering for the remainder of the project.
Don’t:
- Don’t install carpet at this stage if painting is still pending — save carpet for the very end, after paint and trim work, to avoid stains and debris.
- Don’t grout tile in extreme temperature or humidity swings, which can affect curing.
Step 5: Painting & Wall Finishes
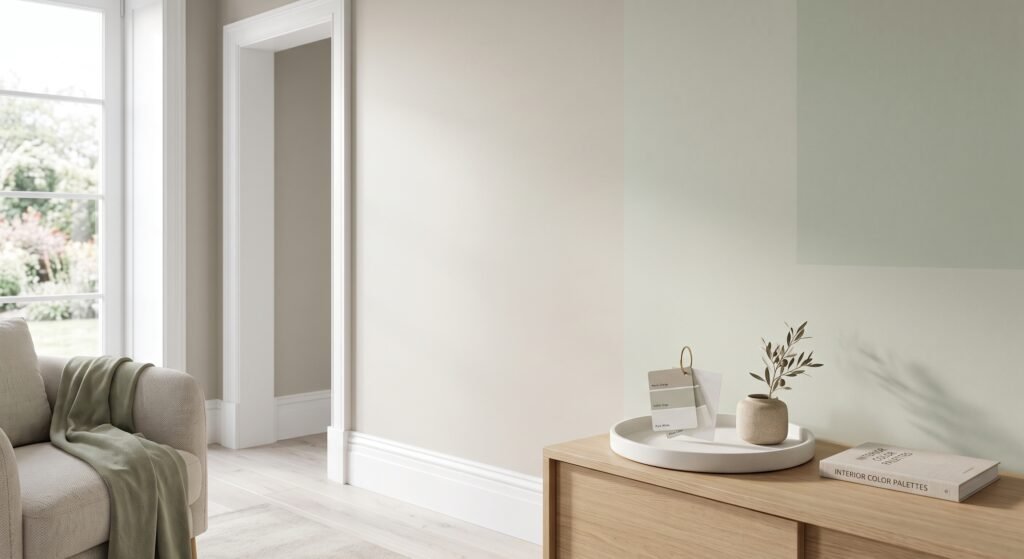
This is the step homeowners are often most eager to reach — and it’s deliberately placed near the end for a good reason: paint is one of the last truly “clean” finishes, and doing it too early means repainting after inevitable scuffs from flooring and installation work.
Why painting comes late:
- Drywall dust, flooring debris, and installation scuffs are unavoidable earlier in the process — painting last protects the finish.
- Trim, baseboards, and crown molding are typically installed and caulked right before or alongside painting for seamless results.
- Painting after flooring (but before final fixtures) allows painters full, unobstructed wall access.
Do:
- Use high-quality primer and at least two coats of paint for even, durable coverage.
- Choose washable, scuff-resistant finishes (eggshell or satin) in high-traffic areas like hallways and kids’ rooms.
- Test paint colors on the actual wall in your home’s lighting before committing to gallons.
Don’t:
- Don’t paint before caulking gaps at trim and ceiling lines — caulk hides imperfections paint alone can’t.
- Don’t skip painter’s tape and drop cloths for finished flooring, even at this “final” stage.
Step 6: Lighting, Cabinetry & Final Layout Styling
The last phase is where a renovation goes from “finished construction” to “finished home.” This is where fixtures, hardware, and styling bring your original vision to life.

Final installations:
- Light fixtures, ceiling fans, and switch plates.
- Cabinetry, countertops, and built-in shelving.
- Plumbing fixtures — faucets, sinks, and showerheads — connected to the rough-ins from Step 2.
- Hardware: cabinet pulls, door handles, and window treatments.
- Final styling: furniture placement, décor, and accessories that tie the whole space together.
Do:
- Layer your lighting — ambient, task, and accent — rather than relying on a single overhead fixture.
- Choose hardware finishes that coordinate across the whole space (matte black, brushed brass, polished nickel) for a cohesive look.
- Do a final walkthrough with your contractor to create a “punch list” of any remaining touch-ups.
Don’t:
- Don’t rush furniture placement — live in the space for a few days before finalizing layout if possible.
- Don’t skip the final inspection or punch-list walkthrough; small issues are far easier to fix before you’ve moved everything in.
Final Thoughts: Trust the Sequence
The homeowners who get the smoothest renovations aren’t necessarily the ones with the biggest budgets — they’re the ones who respect the order of operations. Rushing ahead to painting before rough-ins are inspected, or picking out light fixtures before the electrical plan is finalized, almost always costs more time and money than it saves.
If there’s one takeaway from this guide, it’s this: plan thoroughly, build in order, and resist the urge to skip steps for instant gratification. A renovation done in the right sequence, with the right professionals at each stage, doesn’t just look better — it lasts longer and holds its value far better than one that was rushed.
Your dream home is built one correctly sequenced step at a time.